Windows XP RC1 is officially available for download from Microsoft for quite some time now. In my own testing, I have found it to be quite stable without a single crash in the whole month since the time I have installed it. There are two ways to install it. First is to simply install it in your existing installation of Windows XP or you can integrate(slipstream) it in to your Windows XP installation CD. The second method is preferred in some ways because whenever you will reinstall your windows(fresh install), SP3 will be automatically installed with it. Secondly it will not clutter your existing installation with its backup files during the installation. The procedure to integrate SP3 in your XP installation CD is quite simple.
All you will have to do is to follow the following simple steps:
1. Download and install the nLite from the following site. You may need to install .NET framework 2.0, if it is not already installed before you can use nLite. You can download it here.
2. Download the Windows XP Service Pack 3.0 from Microsoft here.
3. Now copy all files and folders on your XP installation CD to a folder on your hard disk named WinXP.
4. Start the nLite and “Welcome to nLite” screen will appear. Press Next button here.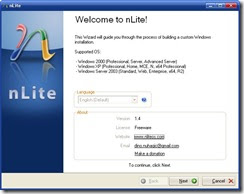

5. Now give it the path to the XP installation folder that you have created in the third step and press Next.
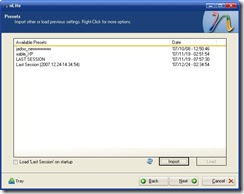
6.Here it will ask that if you want to load a previously loaded preset. We do not need to, so press Next.
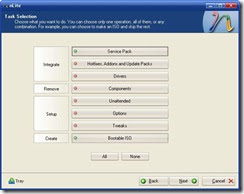
7.At this screen you can select the list of tasks you want to perform to create the customized XP CD.Turn on the “Service Pack” and “Bootable ISO settings”.
8.On this screen select the Service Pack 3 that you have downloaded from Microsoft to integrate and press Next.
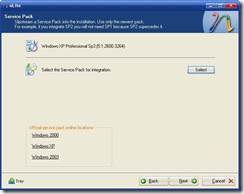
9.After integration it will move to the CD burning page for the newly created XP installation with the integrated SP3.
10.Insert an empty CD in to your CD/DVD writer and select the “Burn Image” mode on this screen. Make sure the correct burner is selected and hit the burn button. After burning is complete press Next button.
11.Congratulations! you have created and burned your customized Windows XP CD with SP3
11.Congratulations! you have created and burned your customized Windows XP CD with SP3


 4:54 AM
 anoop
anoop

